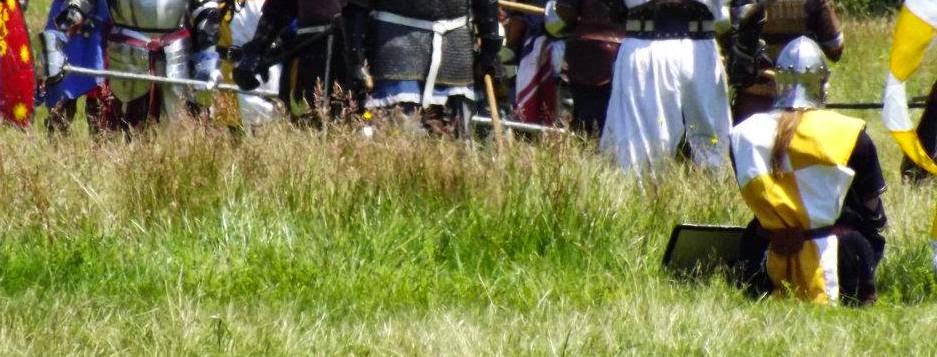
The fight starts before the armor, before you pick up your stick, and before you step onto the field. It begins with an individual that is devoted to himself and understands the gravity of taking up arms against his fellow man.

Showing posts with label armor. Show all posts

Thursday, May 14, 2015

On 4:25 PM by Unknown in     3 comments
A recent sword strike to the hand was a painful reminder that our equipment breaks down and does occasionally need to be replaced. The constant wear, due to use and storage, broke down the leather of my demi-gauntlet and rendered it into an unusable state.  While comfortable to wear, soft and flexible is not what I want protecting my hands.  In our sport, hands take a brunt of incidental contact from ourselves and our opponents.  I can almost guarantee that if you wear improper hand protection injury is not far behind.      

I'll warn you now that this is an image heavy post, but if you find the pattern to your liking I do have  (S, M, and L sizes) available if anyone needs them.


Creation of a New Demi-Gauntlet


As you can see from the image, on the right, the leather has become quite flexible.  I'm bending down the thumb cap with hardly any effort at all.  While the soft leather is comfortable to wear, it provides minimal protection and needed to be replaced.


The first task was to locate the pattern and the materials necessary to construct my project:  

         
              1/4" leather               
Self healing exact o mat
Rolling cutter
Box cutter
Sharpie
Pattern
Brown leather dye


I then cleaned up the edges of the leather with a beveler, and punched the seam holes with an awl. Next came colouring the pieces with brown leather dye.  When the dye was set I sewed the wedges cut into the thumb. This gave the thumb cup its preliminary shape. To ensure my thumb stays in place I stitched a additional piece of soft leather to form a pocket.  

I soaked the upper in water for 15 minutes and then clamped the thumb to form its preliminary shape. Finally, I sewed the bell onto the upper.  I realized later that soaking the bell briefly would have made it temporarily more flexible, and hence easier to sew into place.  I used clips to hold the pieces together while I sewed, so I would not need to fumble to keep the leather in place while stitching.


The Final Product

When the pieces were successfully sewn together I coated them with Obernauf's to protect and condition the leather. Here is the final result.


Thursday, October 2, 2014

On 3:01 PM by Unknown in     No comments
The process of upgrading armor is a tedious task, but finding the right shoes can be tricky.  Trying to find women's shoes that don't cost a fortune, for fighting, can be almost impossible.  Much like our clothing, a grand majority of our shoes are useless for anything outside.  Having worn quite a variety of shoes, let me break down my experiences for you. 


Pic from Merrell website
Slip on Merrells:  Did just that and would merrily fly off my feet during fights. Great shoe, nearly indestructible, but terrible for sparring.


Pic from Google images

Raichle hiking boots:  Good leather and stitching with absolutely crap for soles.  Lightly used on trails before I decided to wear them twice for fighting, in the rain.  Mid-fight one of the soles tore halfway off....from the wet grass.   


Pic from Google images
Grey Keen Boots: Not the actual boot but close enough.  Wore out the toe in about 4 months and the insole in about 3.  The ankle support was misleading with this boot insofar as much that there was none.  This shade of grey is also a mighty eyesore when the rest of your kit is a nice brown.


My Pic!
Grey Minimalist Merrells:  By far the most comfortable shoes I've run in and fought in.  However, again with the eyesore.  If you ever plan to fight in these keep in mind they are considered barefoot shoes.  If you have not worn them before, DO NOT put them on for the first time and go for a long run or to fight you will injure you feet.  You need to walk around in them normally for a spell to adjust your muscles and body to a non-cushioned sole.


My Pic!
Keen Delancey Boot WP CNX: My newest acquisition via Nordstrom's Rack.  As an FYI, not only does this store have designer shoes but often carries a nice selection of well made outdoor boots. Full grain, waterproof leather and a contoured arch for added mid-foot support.  I'm excited about these.  The pass the 10 foot rule, and pass it well.  With the greaves on they look remarkably like period Rus boots.  Can't wait to show them off.


                                                                      COMPARISON!!


Tuesday, July 1, 2014

On 1:41 PM by Unknown in     No comments
       You never appreciate how uncomfortable a piece of armor is until you finally wear one that was made to fit properly.  In my case, arm armor.  I can't boast to having large well muscled arms with elbows that fit neatly into cops.  In fact it has been a nightmare trying to find/build anything that as small enough to stay in place and protect me properly without looking like a ten year old in their parents fighting equipment.

        So a few moths ago I went to a local armorer and had him take measurements of my elbows with the padding on.  What I received was a pair of perfectly fitted elbow cops, made of stainless steel, that wear like a dream.  I honestly would recommend doing this if you can.  Strapping a piece of gear into place and having it feel completely natural, leaves you free to focus on fighting and not on the frustration of being uncomfortable.  Plus they match my greeves....


Sunday, June 9, 2013

On 3:54 PM by Unknown in     No comments
Two years ago I made a Quick pair of greaves and decided recently to construct a new pair to match my new set of armor currently under construction.  As with all things armor they ended up taking much longer to build than expected, but the results were well worth the extra time.


The construction process was a series of small steps and meticulous measurements.  Fortunately a picture is worth a thousand words and my tiny digital camera captured the series of steps as follows.


Step One: Leather blank cut from 15oz, 1/4" thick, cow hide. Measured the length of my shin and determined that 10" slats would provide the greatest area of coverage for my lower leg.  My good friend, who works in a metal shop, was kind enough to make the slats for me.  I took a pattern from my previous set of greaves, from two years ago, and tweeked it to fit the slats evenly.  In the bottom picture, everything measured out together to make sure the plates are evenly spaced. At this stage I marked the position of the holes on the top and bottom.


Step Two:   All-in-one brown leather dye to colour and protect the leather. I also conditioned them with Lexol leather conditioner.  
From the back of the product:  Lexol protects old and new leather from cracking and premature aging by providing the lubrication necessary to keep it strong and supple. It is made with the finest tanning oils which are emulsified into microscopic droplets.

The picture on the bottom is a dry run before setting the rivets to make sure everything was lined up and ready to go.  As it turned out some of the holes needed to be drilled out again since the rivet width varied slightly.


Step Three:  A goal of mine is to step away from modern buckles and use replicas where I can.  These buckles were purchased from Bronzehammer and I have put them to good use to secure the greaves to my lower legs. On the left you see the various stages of completion while setting the size 14 copper rivets.  To the right the tape is holding the rivets down. A nice little solution to the frustration of keeping the whole mess together while setting the rivets one by one.  Also a nice close up of the bronze buckles.


And at last after setting all 30 of the rivets to secure the slats, buckles and straps.  Completion!!


Wednesday, August 22, 2012

On 10:24 PM by Unknown in     No comments
Training as a fighter takes time and consistency.  Fixing the small things, like the angle of your hand or elbow placement, can determine the success of your blows.  I've been frustrated by the lack of power in some of my blows recently until my knight and I discovered that my sword was the wrong length.  There is always the expectation to adapt to whatever weapon you are currently wielding, but honestly it's more important to find out what works best for you first.  There is a height/weight ratio for sword length where the balance of the sword is optimal for the style of fighting.  In my case, being in the lightweight column with low upper body strength, using a short sword is great for moving in and out of range but can be difficult to provide powerful blows constantly.  I recently switched to a sword that is 3 inches longer with a bit more heft, and haven't looked back yet.

Something to be said about swords in my Kingdom, they are hefty.  In fact we often fondly call one of our local knight's swords, "boat oar".  It was, in fact, planed down from a 3 1/2 inch piece of rattan and has continued to inspire quick foot work......Anyway, considering the overall weight, sword balance becomes more important to help prevent shoulder, elbow and wrist injuries.  Failing to use good body mechanics during a fight, especially with an improperly fitted sword, will cause a lot of wear and tear on the body. So make sure you find something that works for you!  


Quick Notes:  Keep elbow tucked in, follow the momentum of the sword.

Thursday, October 6, 2011

On 3:22 PM by Unknown in     No comments


As promised!  The patterning for me was the most difficult part of making this piece of armor.  Having failed several times, due to lack of/vague instructions found on the internet, it finally occurred to me that my approach was all wrong. I just asked a friend on mine with a fashion degree, and he had an extra one laying around. Total cheat I know, but after 5 failed attempts to pattern out my own belt I felt I was due for a bit of help.The biggest problem was thinking it needed to sit lower on the hips like a pair of hip hugger jeans.  Nope!
Arming point: Front, leg.
Designer C-belt

 
High on the hips under belly button

Tuesday, September 6, 2011

On 1:20 PM by Unknown in     No comments

After a bit of hit-and-miss, one country away and a move later, my new leg harness arrived! It's been a bit of a jumble trying to coordinate from person to person and event to event to make sure the leg harness and I ended up in the same place at the same time.  Whew!


These are high impact plastic laced together with 550 parachute cord.  The knees are of the same plastic, and friction welded together down the front of the kneed cop.  All in all they weight less than any harness I have ever owned, and should last a very long time.  Unlike the blue plastic pickle barrel, the high impact plastic is much thinner and will require more strategic padding.  I intend to line these with neoprene, i.e wetsuit material, and wear some hexpad shorts as well if needed.

New leg harness also means new hip belt.  I have been using a standard weight lifting belt in place of this since that is what came with the other harness I've been wearing.  Not the best belt for anyone, women in particular.  The edges of the belt end up digging into the top of the hip bone and/or put pressure on the lower back causing pain.  The C-belt pattern accommodates the natural hip shape as well as distributes the weight of the leg harness along the core of the body rather than centering it on the lower back.  More on this later when the belt has been completed!

Thursday, December 16, 2010

On 11:47 PM by Unknown in     No comments
As we all know our armor is always in a state of constant disrepair, and when we let this lapse for a long enough period of time it can lead to injury and disqualification from the tourney field.  This week I spent a brief period of time updating and upgrading a few pieces of my gear.   Remember these waxed leather bazubands: 

In regard for my arms metal slats were added for more protection.


(Note the effort used to hold said leather in shape.)

Taking a blow to the shins is an uncomfortable and somewhat irritating experience.  So, On To Greaves!

 After cutting my greave pattern out of 3/8s leather I realized it was really rather ridged in smaller pieces and needed to be shaped.  Standard simple soaking procedure is as follows:
 
(1) soak leather piece in water until saturated.
(2) place leather piece over/in mold and secure.
(3) let leather dry in mold and remove.


Materials
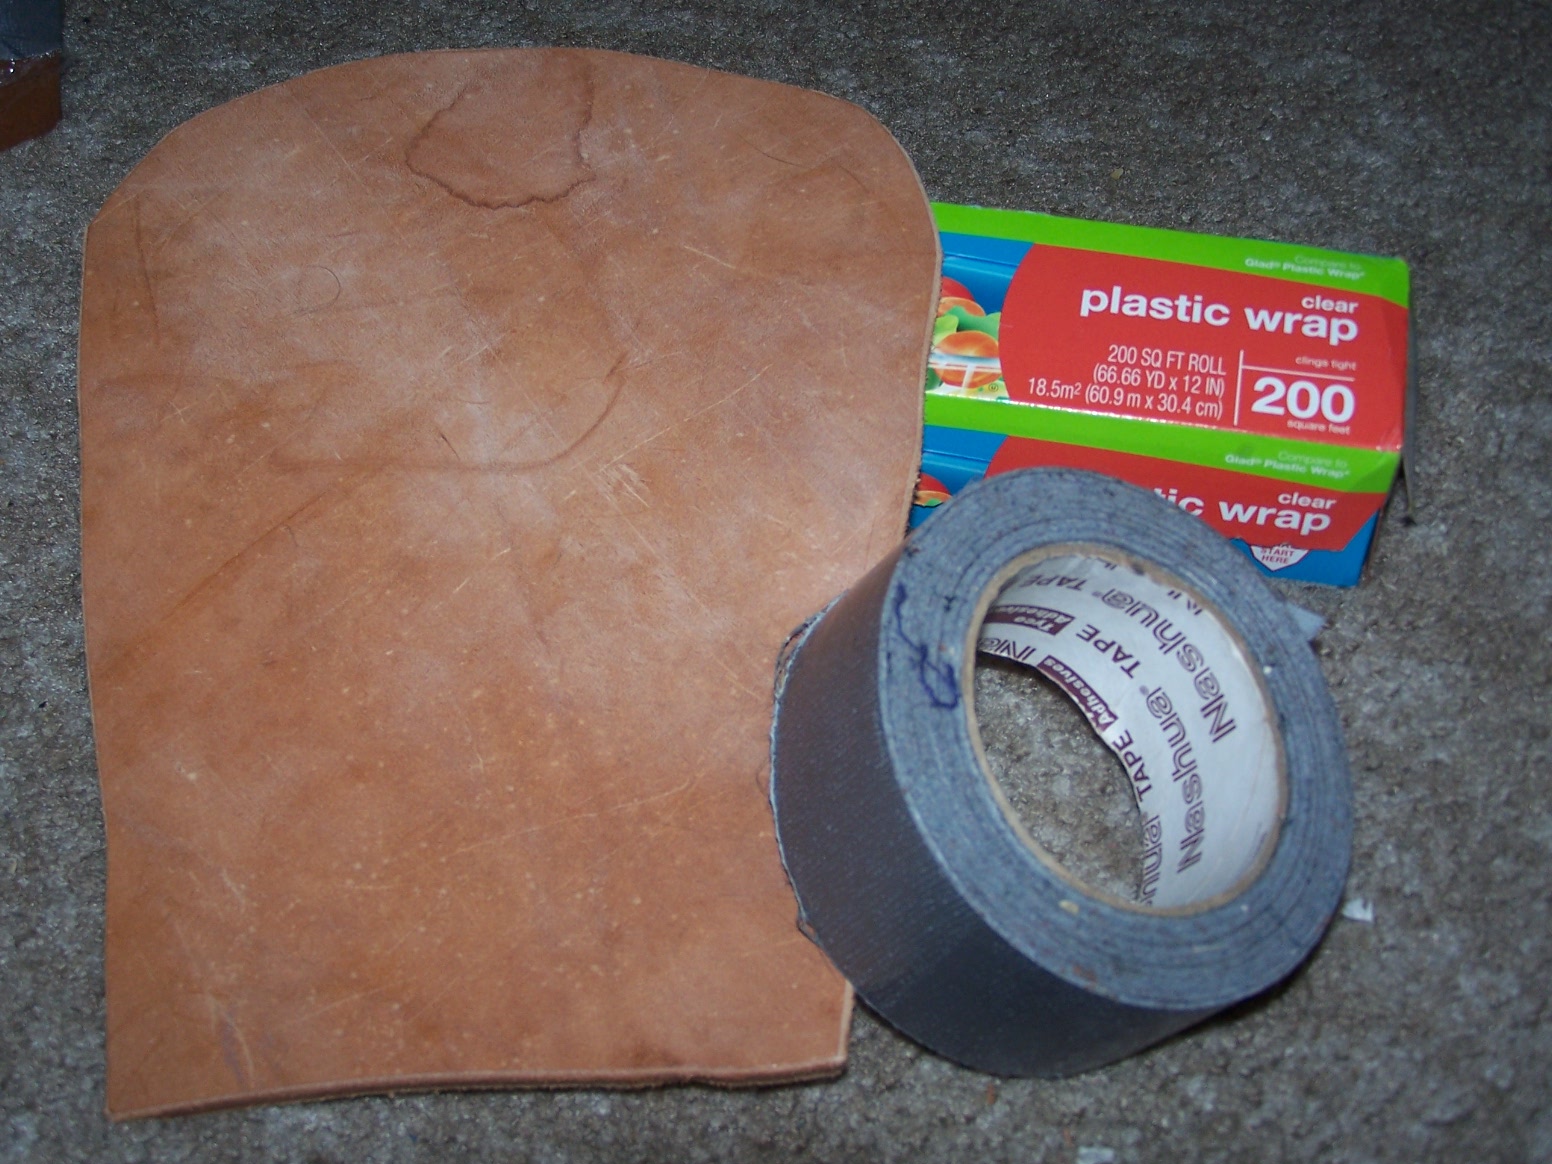
After soaking my leather I needed a way to attach it to my mold.  Some inquiring yielded a fairly simple solution.  While forcing my leather onto the mold I diligently fought embarrassment to cover it in plastic wrap.  This plastic layer protects the leather from the duct tape used to secure it in place on the mold.  Picture as follows. 


Leather secured on mold with tape

Friday, December 10, 2010

On 10:28 AM by Unknown in     No comments
With the completion of my fall academic term, and gradual recovery of mental fortitude after finals, it's time to dust off my helmet and step back out onto the field.  As glorious as my return is in my own head, queue cheers and banners waving in the air as I defeat one knight after the other, the reality will be much more like this.

Anyhow last night at practice a few of us discussed custom shield bosses available in Germany.  They are not accepting orders again until the end of January, to prevent large backups, but this gives me ample time to create a wish list.  enjoy!
http://www.rudis-kuenstlerwerkstatt.de/gallerie-helm-engl.htm