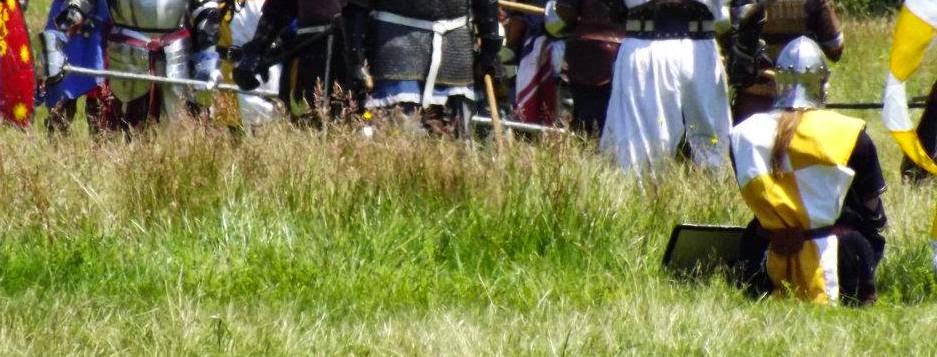
The fight starts before the armor, before you pick up your stick, and before you step onto the field. It begins with an individual that is devoted to himself and understands the gravity of taking up arms against his fellow man.

Showing posts with label Pel Work. Show all posts

Thursday, February 2, 2012

On 6:40 PM by Unknown in ,     No comments
Throwing shots on the pel

1)   Find your maximum range and take up position
      Throw shot, moving forward.  Stay light on your feet.
      Strike thru target, keeping hand above shoulder level, and connect with pel.
      Your hand should end the blow just above the level of the opponents right shoulder.

2)   From first ending position
      Start movement in desired direction and pivot hand toward offside blow.
      Keep elbow tucked toward body to shorten rotational axis. (This also prevents you from throwing too much arm into this reversal shot and injuring your shoulder.)
     
3)   Adjustment of blows
      a) hand position determines where the tip of the sword will land. 
          hand down = tip up
          hand up = tip down 
      b) The goal is to effortlessly throw a blow using body motion in coordination with arm and hand positioning to guide the sword to its target.

4)   Alternative starting position
      a)  High guard.  Good for quick sniping sword blows and defending left side of head against quick onside snaps (against right handed opponents).
           

Friday, February 25, 2011

On 3:48 PM by Unknown in ,     No comments

Three tools of training!  

The first, that looks vaguely like a fraternity paddle, re-enforces on edge mechanics. When used to throw a shot it glides easily through the air so long as the thin edge moves toward the target.  When the mechanics are wrong the flat edge drags in the air, much like an airplane wing, causing the sword to move incorrectly.  

The second is an old sword stripped of its hilt, and used for pel work.  Pel work is important for learning muscle memory, throwing combos w/ flow, and learning recovery.  It's important to know how your sword rebounds so you don't hit yourself in the head.  When throwing combos move about and establish flow.  Your opponent doesn't stand still when your fighting so why should you practice your shots in a stationary position.  

The third is a light piece of bamboo with triggers.  This little whippy thing I use to practice new shots with and do slow work with a partner.  Since it's so light I can tap my practice buddy without fear of serious injury, and don't need to worry about hurting myself by throwing a shot incorrectly.  

Sunday, May 16, 2010

On 10:29 PM by Unknown in     No comments
The theme for last week was reaction, quickness and speed (which could be paraphrased as "explosive response").

On the pell, put a 2" square of different colored tape on each side of the "head" and on each "thigh".

1) The striker stands on-guard (use a shield) and says ready to the referee.
2) The referee waits a random 1-5 seconds and shouts "Go!".
3) The striker explodes their shot to hit the 2" target.
4) Repeat steps 1-3.
5) Repeat steps 1-3.
... (after 10 strikes at target)
12) Change target to the next tape mark and repeat 1-3.
13) Repeat 1-3.
...
42) Switch people and start over.

This yields 40 shots per person, 10 each at the four tape marks. The on-guard position does not need to remain the same, in particular, for the different targets.


Things to keep in mind:

This drill should occur early in the practice session when everyone is fresh. There should be some warmup work first (maybe 5 minutes of light striking combos per person). If you think the striking technique looks incorrect during the drill, work with that person to correct the technique in future practice sessions, before more training sessions.